Analog.Cafe › Guides and Tutorials › 18 min read by Dmitri. Published on May 20, 2025. A "correct" exposure is one that you have envisioned and managed to achieve with your camera. Many cameras automate exposure, which is generally beneficial, as they employ middle grey measurements to reflect how the human eye perceives the world. However, when a true representation of reality is not sufficient, we can intentionally choose films and modify our camera settings to alter it. This is the point when a "correct" exposure may not align with the default settings of the light meter. The trade-off for taking this risk is the opportunity to experience the world through film from a fresh perspective.
In this guide, I will discuss overexposure and its relevance to film photography. By the end of your reading, you will have a clear understanding of what overexposure is, when it might be justifiable, which films to overexpose, how to achieve that without damaging your photos, and how to scan and edit overexposed frames.
In this guide:
- What is overexposure?
- How is overexposure different from push processing?
- Reasons for overexposing film
- Overexposing film with manual cameras
- Overexposing film with point-and-shoot and semi-automatic cameras
- Choosing the right film for overexposure
- Films that tolerate overexposure exceptionally well
- Documentation
- Choosing the right scene for overexposure
- Developing overexposed film
- Highlight and shadow details of overexposed film
- Scanning overexposed film
- Editing overexposed scans
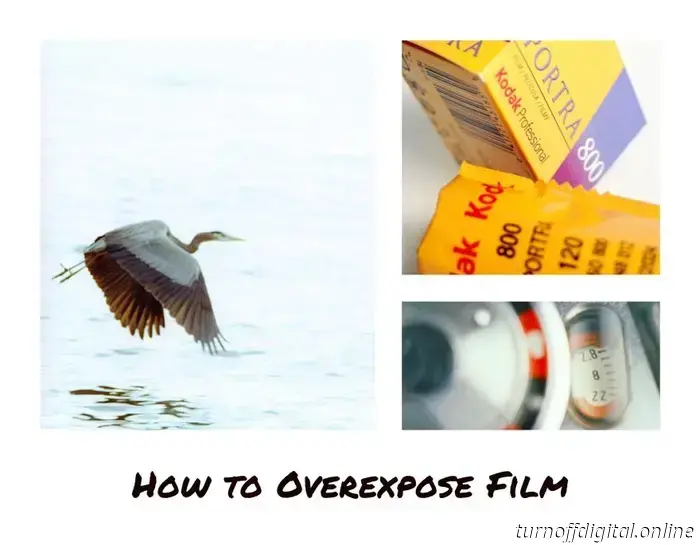
Support this blog & enjoy premium features with GOLD memberships! Kodak Pro Image 100 using Voigtländer Vitessa A. Overexposed by +1 stop. No colour corrections.
**What is overexposure?**
The term "overexposure" is frequently used in film photography circles but can sometimes be misunderstood. Overexposure refers to exposing film to more light than what is indicated by the metering and development process.
Let’s clarify: "More light than directed" means that exposure can be gauged with a light meter (whether external or built into your camera) and can also be approximated just by observing the scene. If we assume these measurements are accurate, exposing film to additional light is typically done by slowing down the shutter speed or increasing the aperture by one or more stops.
For example, if the light meter indicates that camera settings for Kodak Portra 800 (an ISO 800 film) are 𝒇16 (aperture) and 1/1000 (shutter speed), we can overexpose it by one stop by either changing the aperture from 𝒇16 to 𝒇11 or adjusting the shutter speed from 1/1000th to 1/500th of a second.
Consider a backlit scene as an illustration. Here, the camera meter averages the brightness, resulting in an exposure that renders the subjects as dark silhouettes due to the strong influence of the sun within the frame. While this may be desirable in some situations, it is generally not an acceptable or "correct" exposure if the objective is to make the faces of the individuals in the frame clear or recognizable.
**Interpretative metering.**
Though measurable, exposure is open to interpretation. The light meter will provide different readings based on where it is pointed, and the same scene can yield various metering outcomes. For instance, when pointing the light meter at the shadows, it will provide readings that lighten the image as it attempts to make the shadow areas appear neutral (middle grey). We can also apply exposure compensation for backlit scenarios and make other adjustments that will alter the exposure.
However, I do not classify the above techniques as overexposure or underexposure; rather, they are modifications intended to create an exposure aligned with our expectations of what should appear dark or bright. For example, when photographing a subject against bright light, adjustments for exposure compensation (such as adding one or more stops of light) would not be considered overexposure. Overexposure entails adding more light beyond the compensated exposure settings.
**Development.**
Typically, this refers to developing film in the standard manner without alterations during the process. If you've overexposed your film and want to retain that overexposure, your lab won't need any special instructions. If processing the film at home, develop it at box speed.
It is also possible to overexpose push-processed or pull-processed film. For instance, if you are pushing Kodak Tri-X by two stops to an EI of 1600, you can overexpose it by one stop by widening the aperture or extending the shutter time by one stop while having your meter set to ISO 1600 (which is equivalent to setting your meter to ISO

TIFF files have a significantly larger size compared to JPEGs. They can also be more expensive to have your film scanned at a lab. But do the additional storage requirements and cost justify themselves? This guide includes an easy-to-use decision tree along with a detailed explanation of the commonly used digital image formats.

Although the low-compression full 4:4:4 chroma JPEG files produced by film Q contain sufficient data for substantial edits without causing distortions, there might be occasions when additional color data is required. #editorial.
This guide will assist you in understanding the reasons and timing for appropriate overexposure, which films to overexpose, methods for overexposing your photos without compromising them, and how to scan and edit overexposed images.