What is redscale film? Photographic film consists of two sides. To achieve “correct” colors with color film, it must be loaded with the emulsion side facing the lens. This is typically the only method to load a 35mm canister or medium format roll into a camera. Redscale film is any color film loaded with the emulsion side facing away from the lens. When used this way, redscale film generally produces darker, red-toned images compared to its standard use. Redscaling involves a simple modification that can be performed at home or by the manufacturer. This effect is achievable with any color photographic film but is not applicable to monochrome films. The term redscale can be used as an adjective, e.g., “Harman Red 125 is a redscale film,” or as a verb, e.g., “I redscaled my color film to create moody Halloween photos.” In this guide: What is redscale film? How does redscale film function? Who manufactures or sells redscale film? How to create your own redscale film. A guide to redscale film exposure. Redscaling unusual films for distinctive effects. Support this blog and enjoy premium features with GOLD memberships! Lomography Redscale XR box photo: Sgroey (edited).
How does redscale film work? Redscale film alters its colors to red due to the arrangement of the layers within the film strip. Photographic film contains multiple layers, three of which are usually responsible for reproducing the red, green, and blue colors of the visible spectrum. These layers have different light sensitivities: blue is the least sensitive, while red is the most. Normally, the blue-sensitive layer is placed facing the lens, receiving the majority of the light. The green-sensitive layer is positioned behind it, receiving less, and the red-sensitive layer is at the back, receiving the least light. 1. Film base; 2. Adhesive layer; 3. Red light-sensitive layer; 4. Green light-sensitive layer; 5. Yellow filter; 6. Blue light-sensitive layer; 7. UV filter; 8. Protective layer; 9. Visible light entering through the camera lens (when shot as standard, non-redscale film). Image by Voytek S (Wikimedia Commons). Manufacturers carefully balance the sensitivities of these layers to ensure accurate color representation. This is achieved by increasing the sensitivity of the red layer to align with the output of the blue layer, resulting in a realistically colored image. When the film is redscaled, meaning the red-sensitive layer faces the lens while the blue-sensitive layer moves to the back, the image appearance is transformed. The red layer, which was previously the least exposed, now receives the most light energy. Conversely, the blue layer, now the least exposed, may only be visible in light leaks and over-exposures. The green-sensitive layer typically remains in the middle, thus its influence on the image doesn’t change significantly but is still affected.
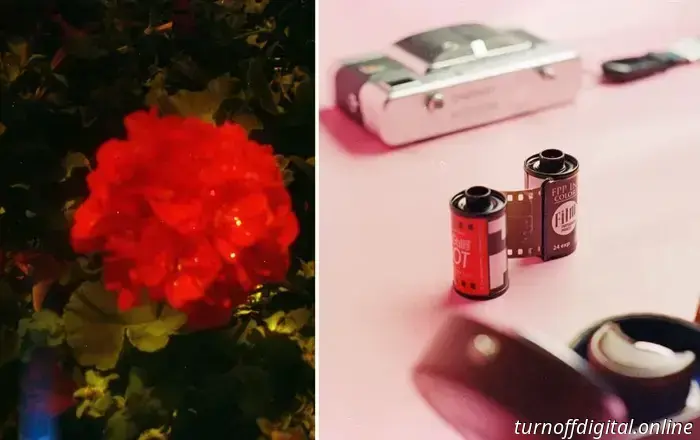
Who manufactures or sells redscale film? You can purchase redscale film from companies like Lomography, Harman, KONO!, and a few smaller brands. For those using 35mm film in point-and-shoot cameras, these brands typically provide a suitable DX code for accurate exposures, and Harman Red 125 includes factory-printed edge markings for compatibility with minilab developers.
How to create your own redscale film. If you have an empty, undamaged 35mm film canister with a film stub exposed: To redscale the film using a donor canister, cut the leader of your film straight, and tape the straight edge of your color film to the film stub of the donor canister, ensuring its underside is facing up. Place both rolls in a dark changing bag or a completely darkened bathroom and wind the film into the empty donor canister. After that, retrieve your film from the dark space and cut it to separate them. Finally, trim your redscaled film leader into a shape resembling your other 35mm film rolls so it fits in a camera (exact precision isn't required). If you lack an empty film canister, you will need to unroll your film in complete darkness, cut it, flip it along the long edge, re-tape it, and then load it back into the canister. While this process isn't overly complex, executing it in total darkness can be challenging. It's advisable to practice beforehand to ensure the film is taped neatly and securely after cutting. Start with a cheap film, as there’s a possibility that things may not work out.
Prepare your darkroom. A professional setup isn’t necessary; a bathroom with all lights off suffices. Be wary of any light seeping in; covering any gaps in the door with a towel can help. It should be completely pitch-black inside. Keep tape and scissors easily accessible to avoid fumbling around. ⚠️ Redscaling
When color film is loaded with the emulsion side turned away from the lens, it results in darker images that are predominantly red. This process is known as redscaling. This guide details the mechanics behind it, where to purchase redscale film, how to create your own, and a unique technique to enhance the color variety.